Advertisement
Miracle No Knead Bread: The Easiest, Most Delicious Bread You’ll Ever Make
If you’ve ever dreamed of baking your own artisan-style bread at home but thought it was too complicated or time-consuming, think again. The Miracle No Knead Bread is here to revolutionize your baking game. With a crispy, golden crust, a soft and chewy interior, and a ridiculously simple process, this bread is a true miracle. Whether you’re a seasoned baker or a complete beginner, this recipe will make you feel like a bread-making pro. Plus, it’s perfect for dunking in soups, slathering with butter, or enjoying on its own. Let’s dive into the magic of Miracle No Knead Bread!
Why Miracle No Knead Bread is a Game-Changer
The Miracle No Knead Bread has taken the baking world by storm, and for good reason. Here’s why this recipe is a must-try:
- No Kneading Required: As the name suggests, this bread requires absolutely no kneading. That means no sore arms, no messy countertops, and no complicated techniques.
- Minimal Effort, Maximum Flavor: With just four simple ingredients—flour, salt, yeast, and water—you can create a loaf that rivals those from your favorite bakery.
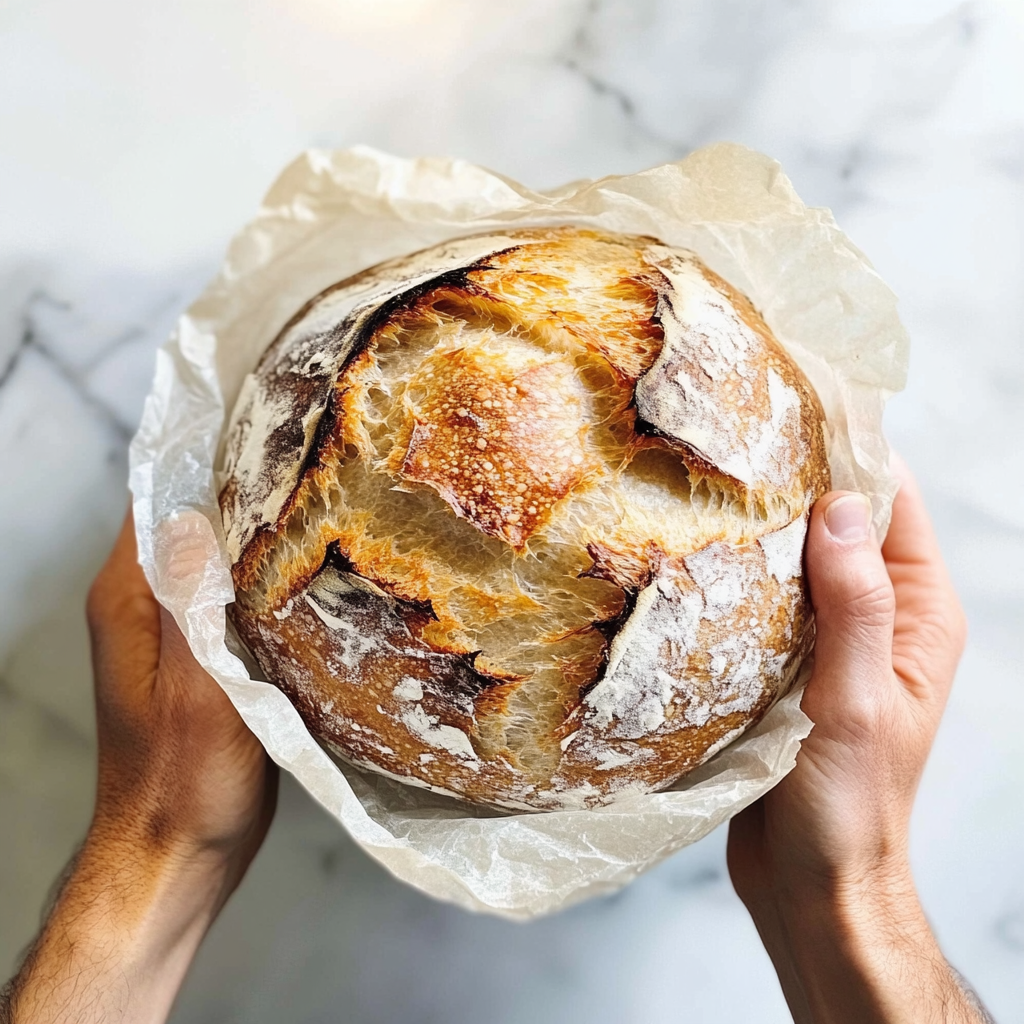
- Perfect Texture: The crust is crackly and golden, while the inside is soft, chewy, and full of airy pockets. It’s the ideal balance of textures.
- Versatile: This bread pairs beautifully with soups, stews, salads, or even as the base for sandwiches and bruschetta.
- Customizable: You can experiment with gluten-free flour, whole wheat flour, or add-ins like herbs, cheese, or nuts to make it your own.
Miracle No Knead Bread Recipe
Rating: 4.8 stars from 574 reviews
Total Time: 18 hours 40 minutes
Yield: 8 servings
Ingredients
- 3 cups all-purpose flour
- 1 1/2 teaspoons salt
- 1/2 teaspoon instant yeast
- 1 1/2 cups room temperature water
Instructions
1. Dough Prep
- In a large mixing bowl, whisk together the flour, salt, and yeast until well combined.
- Add the water and stir until a shaggy, sticky dough forms. If the dough seems too dry, add a few more tablespoons of water, just enough to moisten it. Don’t worry if it looks messy—this is exactly how it should be!
- Cover the bowl with plastic wrap and let it rest at room temperature for 12-18 hours. Overnight is ideal.
2. Prep for Baking
- When you’re ready to bake, preheat your oven to 450°F (232°C).
- Place a 6-quart enamel-coated cast iron Dutch oven (or similar oven-safe pot) in the oven to heat for about 30 minutes.
- While the pot is heating, gently scrape the dough onto a well-floured surface. Remember: NO KNEADING required! Simply shape the dough into a rough ball using floured hands.
- Place the dough on a piece of parchment paper and cover it with plastic wrap while the pot finishes heating.
3. Bake
- Carefully remove the hot Dutch oven from the oven. Lift the dough (with the parchment paper) and place it into the hot pot. Be cautious—the pot is extremely hot!
- Cover the pot with its lid and bake for 30 minutes.
- After 30 minutes, remove the lid and bake for an additional 10-15 minutes, or until the crust is deep golden brown and crispy.
- Once baked, remove the bread from the pot and let it cool on a wire rack for at least 30 minutes before slicing.
Equipment You’ll Need
- Stainless Steel Mixing Bowl: For mixing the dough.
- Wooden Spoon: To stir the ingredients together.
- Dutch Oven: Essential for creating the perfect crust and texture.
(Note: The equipment section may contain affiliate links to products we know and love.)
The Magic Behind No-Knead Bread
No-knead bread has become a phenomenon in the baking world, and the Miracle No Knead Bread is a shining example of why this method is so beloved. The secret lies in its simplicity and the science of fermentation. Unlike traditional bread recipes that require extensive kneading to develop gluten, no-knead bread relies on time to do the work. The dough is mixed just enough to combine the ingredients, then left to rest for an extended period—usually 12 to 18 hours. During this time, the yeast slowly ferments the dough, creating a network of gluten strands that give the bread its structure and chewiness.
The long fermentation process also enhances the flavor of the bread. As the yeast breaks down the sugars in the flour, it produces carbon dioxide and alcohol, which contribute to the bread’s airy texture and complex taste. This slow rise allows the dough to develop a slightly tangy, almost sourdough-like flavor, even without a sourdough starter. The result is a loaf that’s not only delicious but also incredibly easy to make.
Another key element of no-knead bread is the baking method. Using a preheated Dutch oven traps steam inside, which is essential for achieving that coveted crispy crust. The steam keeps the surface of the dough moist during the initial stages of baking, allowing the bread to expand fully before the crust hardens. This technique mimics the environment of a professional bread oven, giving home bakers the ability to create bakery-quality bread with minimal effort.
The Miracle No Knead Bread is a testament to the beauty of simplicity. It proves that you don’t need fancy equipment or advanced skills to make incredible bread. All you need is a little patience and trust in the process. Whether you’re a seasoned baker or a complete novice, this recipe will leave you feeling accomplished and eager to bake again.
Tips for Perfecting Your Miracle No Knead Bread
While the Miracle No Knead Bread is incredibly forgiving, a few tips can help you achieve the best possible results every time. First, pay attention to the quality of your ingredients. Use high-quality all-purpose flour, as it provides the right balance of protein and starch for a good rise and texture. If you’re experimenting with whole wheat or gluten-free flour, keep in mind that the results may vary slightly in terms of texture and flavor.
Temperature plays a crucial role in the fermentation process. Ideally, the dough should rest at room temperature (around 70°F) for the full 12-18 hours. If your kitchen is cooler, the dough may take longer to rise, while a warmer environment can speed up the process. Be patient and let the dough rise until it’s bubbly and roughly doubled in size.
When shaping the dough, handle it gently to avoid deflating it. The goal is to create a loose ball without overworking the dough. If the dough feels too sticky, lightly flour your hands and the work surface, but avoid adding too much flour, as it can make the bread dense.
Preheating your Dutch oven is non-negotiable. A hot pot ensures that the bread starts baking immediately, creating that perfect crust. If you don’t have a Dutch oven, you can use any heavy, oven-safe pot with a lid. Just make sure it’s large enough to accommodate the dough as it expands during baking.
Finally, resist the temptation to slice the bread as soon as it comes out of the oven. Let it cool on a wire rack for at least 30 minutes. This allows the interior to set and makes slicing easier. With these tips in mind, you’ll be well on your way to mastering the Miracle No Knead Bread and impressing everyone who tastes it.
Creative Variations to Try with Miracle No Knead Bread
One of the best things about the Miracle No Knead Bread is its versatility. While the classic version is delicious on its own, you can easily customize it to suit your tastes or dietary needs. For a heartier loaf, try substituting half of the all-purpose flour with whole wheat flour. This adds a nutty flavor and boosts the nutritional value of the bread. If you’re feeling adventurous, you can even experiment with other types of flour, such as rye or spelt, for a unique twist.
For those following a gluten-free diet, the Miracle No Knead Bread can still be enjoyed with a few adjustments. Use a high-quality gluten-free flour blend and consider adding a teaspoon of xanthan gum to help bind the dough. While the texture may be slightly different, the result is still a delicious, crusty loaf that’s perfect for sandwiches or toast.
If you’re looking to add extra flavor, consider incorporating mix-ins during the shaping stage. Fresh or dried herbs, such as rosemary, thyme, or oregano, can infuse the bread with aromatic notes. Cheese lovers can fold in shredded cheddar, Parmesan, or Gruyère for a savory treat. For a touch of sweetness, try adding raisins, dried cranberries, or a sprinkle of cinnamon sugar.
Another fun variation is to create a stuffed bread. After shaping the dough, flatten it slightly and add a layer of your favorite fillings, such as roasted garlic, sun-dried tomatoes, or caramelized onions. Fold the dough over the fillings, shape it into a ball, and proceed with the recipe as usual. The result is a beautiful, flavorful loaf that’s perfect for sharing.
Gluten-Free and Whole Wheat Variations
Based on reader feedback, we’ve tested this recipe with both gluten-free and whole wheat flours. Here’s what you need to know:
Gluten-Free Version:
- Use a high-quality gluten-free flour blend (we recommend this one).
- The bread will have a slightly spongy texture and won’t rise as much as the original version.
- The crust will still be crispy, and the flavor will be close to the real thing.
Whole Wheat Version:
- Substitute half or all of the all-purpose flour with whole wheat flour.
- The texture will be denser, with fewer air pockets, and the flavor will be slightly nuttier and more robust.
Why This Recipe Works
The Miracle No Knead Bread recipe is based on the science of fermentation. The long resting period allows the yeast to work its magic, developing complex flavors and creating those beautiful air pockets. Baking the bread in a preheated Dutch oven traps steam, which gives the loaf its signature crispy crust.
Serving Suggestions
This bread is incredibly versatile. Here are some delicious ways to enjoy it:
- With Soup or Stew: The crusty exterior is perfect for dunking.
- As Toast: Slice it thick, toast it, and top with avocado, eggs, or jam.
- For Sandwiches: Use it as the base for a hearty sandwich.
- With Cheese and Charcuterie: Serve it alongside your favorite cheeses and cured meats.
Frequently Asked Questions
1. Can I use active dry yeast instead of instant yeast?
Yes, but you’ll need to activate it first. Dissolve the yeast in warm water (about 110°F) and let it sit for 5-10 minutes before adding it to the flour.
2. Can I make this bread without a Dutch oven?
While a Dutch oven is ideal, you can use any oven-safe pot with a lid. Alternatively, bake the bread on a baking sheet and place a pan of water on the lower rack to create steam.
3. How do I store leftover bread?
Store the bread in a paper bag or wrapped in a clean kitchen towel at room temperature for up to 2 days. For longer storage, freeze the bread in an airtight bag for up to 3 months.
4. Can I double the recipe?
Absolutely! Double the ingredients and divide the dough into two portions before shaping.
Miracle No Knead Bread: The Easiest, Most Delicious Bread You’ll Ever Make
Advertisement

This Miracle No Knead Bread is a game-changer for anyone who loves homemade bread but doesn’t want to spend hours kneading and fussing. With just 4 simple ingredients and minimal effort, you can create a loaf with a crispy, golden crust and a soft, chewy interior. Perfect for soups, sandwiches, or simply slathered with butter, this bread is as forgiving as it is delicious. Plus, it requires no special skills—just time and patience!
- Prep Time: 12 hours
- Cook Time: 40 minutes
- Total Time: 12 hours 40 minutes
Ingredients
- 3 cups (360g) all-purpose flour
- 1 ½ teaspoons salt
- ½ teaspoon instant yeast
- 1 ½ cups (360ml) room temperature water
Instructions
- In a large mixing bowl, whisk together the flour, salt, and instant yeast.
- Add the water and stir until a shaggy, sticky dough forms. If the dough feels too dry, add 1-2 tablespoons more water. Don’t worry if it looks messy—this is normal!
- Cover the bowl tightly with plastic wrap and let it rest at room temperature for 12-18 hours (overnight works perfectly). The dough will rise, become bubbly, and double in size.
2. Prep for Baking
- Preheat your oven to 450°F (230°C). Place a 6-quart Dutch oven (or similar oven-safe pot with a lid) inside the oven to heat for about 30 minutes.
- While the oven heats, gently scrape the dough onto a well-floured surface. Do not knead it—just shape it into a rough ball using floured hands.
- Place the dough on a piece of parchment paper, cover it loosely with plastic wrap, and let it rest while the Dutch oven heats.
3. Bake the Bread
- Carefully remove the hot Dutch oven from the oven. Lift the dough (with the parchment paper) and place it into the hot pot. Be cautious—the pot is extremely hot!
- Cover the pot with its lid and bake for 30 minutes.
- Remove the lid and bake for another 10-15 minutes, or until the crust is deep golden brown and crispy.
- Transfer the bread to a wire rack and let it cool completely before slicing.
Notes
- Use a kitchen scale for precise measurements, especially for the flour and water.
- Don’t skip the resting time—the long fermentation is what develops the flavor and texture.
- Experiment with flours: Try whole wheat or gluten-free flour (see notes below for adjustments).
- Storage: Keep the bread in a paper bag or wrapped in a clean kitchen towel to maintain its crust. Avoid plastic bags, as they can make the crust soft.
Nutrition
- Calories: 160 per serving
- Fat: 0.5g
- Carbohydrates: 33g
- Fiber: 1g
- Protein: 4g
Final Thoughts
The Miracle No Knead Bread is proof that baking doesn’t have to be complicated to be delicious. With just a few simple ingredients and a little patience, you can create a loaf of bread that’s worthy of a 5-star bakery. Whether you’re baking for yourself, your family, or a special occasion, this recipe is sure to impress.