Advertisement
Robin Egg Easter Bark: A Show-Stopping Easter Treat
Easter is just around the corner, and what better way to celebrate than with a delightful, no-bake dessert that’s as beautiful as it is delicious? Introducing Robin Egg Easter Bark—a stunning, easy-to-make treat that will be the star of your Easter table. This recipe is perfect for both beginners and seasoned bakers, and it’s guaranteed to impress your family and friends. Plus, we’ve included a step-by-step guide and tips to ensure your Robin Egg Easter Bark turns out perfectly every time!
Why You’ll Love This Robin Egg Easter Bark Recipe
This Robin Egg Easter Bark is not only visually stunning but also incredibly simple to make. Here’s why you’ll love it:
- No-Bake: No oven required! This recipe is perfect for those who want a quick and easy dessert without the hassle of baking.
- Customizable: You can easily switch up the colors, sprinkles, and toppings to match your Easter theme.
- Kid-Friendly: Kids will love helping to decorate this bark, making it a fun family activity.
- Perfect for Gifting: Package it in cute Easter-themed bags or boxes for a thoughtful homemade gift.
Ingredients for Robin Egg Easter Bark
Before we dive into the instructions, let’s gather all the ingredients you’ll need to make this beautiful Robin Egg Easter Bark:
- 2 lbs. of Baby Blue Melting Chocolate: The base of your bark. You can use white chocolate or dark chocolate if you prefer, but the baby blue color gives it that perfect Easter vibe.
- Robin Egg Candy: These colorful candy-coated chocolates are the star of the show.
- Easter Sprinkles: Add a pop of color and fun with pastel-colored sprinkles.
- 2 tablespoons of Cocoa Powder: For creating the speckled effect.
- Water: To mix with the cocoa powder.
- Basting Brush: For flicking the cocoa mixture onto the bark.
Step-by-Step Instructions for Making Robin Egg Easter Bark
Now that you have all your ingredients ready, let’s get started on making this Robin Egg Easter Bark!
Step 1: Melt the Chocolate
Start by melting down your baby blue melting chocolate. You can do this using a double boiler or the microwave. If using a microwave, heat the chocolate in 30-second intervals, stirring in between, until it’s completely melted and smooth.
Pro Tip: Be careful not to overheat the chocolate, as it can seize up and become unusable.
Step 2: Prepare the Baking Sheet
Line a baking sheet with parchment paper. This will make it easier to remove the bark once it’s set. Make sure the parchment paper is large enough to cover the entire sheet.
Step 3: Pour and Spread the Chocolate
Pour the melted chocolate onto the prepared baking sheet. Use a spatula to spread it out evenly, creating a smooth and even layer. The thickness is up to you, but aim for about ¼ inch thick for the perfect bark texture.
Step 4: Add the Toppings
While the chocolate is still wet, sprinkle the Robin Egg candies and Easter sprinkles over the top. Be generous with the toppings, as they add both flavor and visual appeal.
Pro Tip: Gently press the candies and sprinkles into the chocolate to ensure they stick well.
Step 5: Freeze the Bark
Place the baking sheet in the freezer for about 10 minutes, or until the chocolate is completely set. Freezing helps the bark harden quickly and makes it easier to break into pieces later.
Step 6: Create the Speckled Effect
While the bark is setting, prepare the cocoa mixture for the speckled effect. In a small bowl, mix 2 tablespoons of cocoa powder with enough water to create a paint-like consistency. You want it to be thin enough to flick but thick enough to create visible speckles.
Once the bark is set, use a basting brush to flick the cocoa mixture onto the bark. This will give it that beautiful, speckled robin egg look.
Pro Tip: Practice flicking the mixture onto a piece of parchment paper first to get the hang of it before applying it to the bark.
Step 7: Break and Enjoy!
Once the cocoa mixture has dried, remove the bark from the freezer and break it into pieces. You can make the pieces as large or as small as you like. Serve immediately or store in an airtight container until ready to enjoy.
The History and Significance of Easter Treats
Easter is a time of celebration, and food plays a central role in the festivities. From hot cross buns to chocolate eggs, Easter treats have a rich history that dates back centuries. One of the most iconic Easter treats is the chocolate egg, which symbolizes new life and rebirth. The tradition of giving eggs during Easter can be traced back to early Christians, who would dye eggs red to represent the blood of Christ. Over time, this tradition evolved, and chocolate eggs became a popular gift during the holiday.
The Robin Egg Easter Bark is a modern twist on these traditional Easter treats. It combines the classic appeal of chocolate with the festive colors and flavors of Easter. The use of Robin Egg candies adds a playful touch, reminiscent of the brightly colored eggs used in Easter egg hunts. This bark is not only delicious but also a beautiful centerpiece for any Easter table.
Making Easter treats like the Robin Egg Easter Bark is a wonderful way to bring family and friends together. It’s a fun activity that everyone can participate in, from melting the chocolate to decorating the bark with sprinkles and candies. Plus, it’s a great way to introduce children to the joys of cooking and baking. Whether you’re hosting an Easter brunch or simply looking for a sweet treat to enjoy, this bark is sure to delight.
Tips for Perfecting Your Robin Egg Easter Bark
Creating the perfect Robin Egg Easter Bark is easier than you might think, but a few tips can help ensure your bark turns out beautifully every time. First and foremost, choose high-quality chocolate. The quality of your chocolate will greatly affect the taste and texture of your bark. Opt for melting chocolate, which is specifically designed to melt smoothly and set firmly. If you prefer a different flavor, you can use white chocolate or dark chocolate instead of baby blue.
Another important tip is to work quickly once the chocolate is melted. Chocolate can start to set as it cools, so it’s essential to spread it out and add your toppings promptly. If you’re working with children, have all your toppings pre-measured and ready to go before you start melting the chocolate. This will make the process smoother and more enjoyable for everyone involved.
When it comes to decorating your bark, don’t be afraid to get creative. While Robin Egg candies and Easter sprinkles are classic choices, you can experiment with other toppings like mini marshmallows, crushed cookies, or even dried fruit. The key is to have fun and make the bark your own. Finally, be patient when it comes to freezing the bark. Allow it to set completely before breaking it into pieces to ensure clean, even breaks.
Creative Variations of Robin Egg Easter Bark
While the classic Robin Egg Easter Bark is a crowd-pleaser, there are countless ways to put your own spin on this delightful treat. One popular variation is to use different colors of chocolate. Instead of baby blue, try using pastel pink, yellow, or purple melting chocolate for a colorful twist. You can even create a multi-colored bark by swirling different shades of chocolate together before adding your toppings.
Another creative idea is to incorporate different flavors into your bark. For example, you can add a hint of mint extract to the melted chocolate for a refreshing twist. Alternatively, you can mix in crushed peppermint candies or mini chocolate chips for added texture and flavor. If you’re a fan of nuts, consider sprinkling chopped almonds, pecans, or pistachios over the melted chocolate before it sets.
For those who enjoy a bit of sweet and salty contrast, try adding a sprinkle of sea salt over the finished bark. The salt will enhance the sweetness of the chocolate and create a more complex flavor profile. You can also experiment with different types of candy as toppings. Instead of Robin Egg candies, try using jelly beans, M&Ms, or even small marshmallow chicks for a fun and festive touch.
Finally, consider packaging your bark as a gift. Place the broken pieces into cellophane bags tied with a ribbon, or arrange them in a decorative box. Add a personalized tag or label to make it extra special. Whether you stick to the classic recipe or try one of these creative variations, the Robin Egg Easter Bark is a versatile and delightful treat that’s perfect for Easter.
Frequently Asked Questions (FAQs)
Can I use regular chocolate instead of melting chocolate?
Yes, you can use regular chocolate, but melting chocolate is specifically designed to melt smoothly and set firmly, making it easier to work with for bark recipes.
How far in advance can I make this bark?
You can make this Robin Egg Easter Bark up to a week in advance. Just store it in an airtight container to keep it fresh.
Can I make this bark dairy-free?
Absolutely! Simply use dairy-free chocolate and ensure your toppings are also dairy-free.
What other holidays can I make bark for?
Bark is a versatile treat that can be customized for any holiday. Try using red and green sprinkles for Christmas, or orange and black for Halloween.
PrintRobin Egg Easter Bark: A Show-Stopping Easter Treat
Advertisement

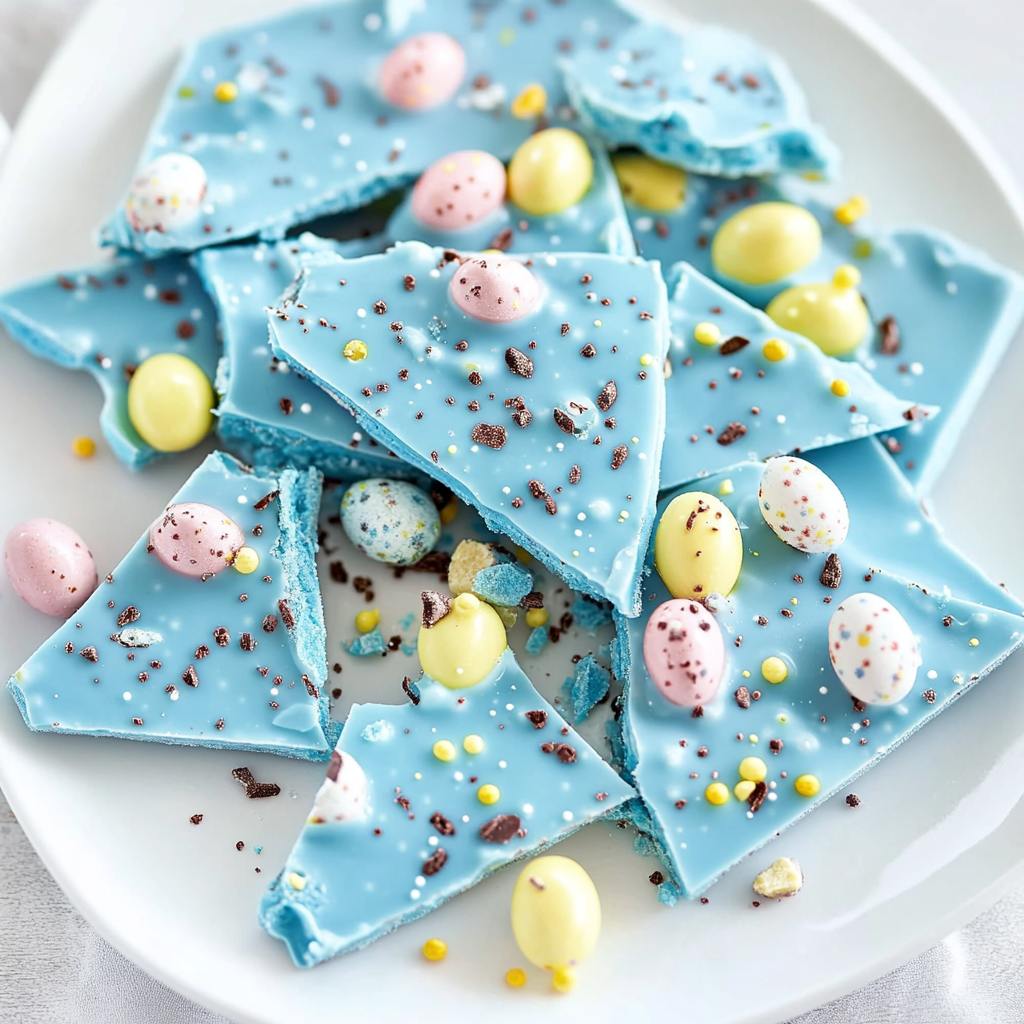
Growing up, Easter was always filled with joy, laughter, and of course, sweet treats! This Robin Egg Easter Bark is a simple, no-bake recipe that looks stunning and tastes even better. The pastel blue chocolate, topped with crunchy candy eggs and a touch of cocoa “speckles,” makes it the perfect centerpiece for your Easter celebration. It’s a fun treat to make with kids or gift to loved ones. Give it a try and add a little extra magic to your holiday
- Prep Time: 10 mins
- Cook Time: 10 mins
- Total Time: 20 mins
Ingredients
- 2 lbs. (32 oz) Baby Blue Melting Chocolate
- 1 cup Robin Egg Candy (or similar chocolate eggs)
- 1/4 cup Easter Sprinkles
- 2 tablespoons Cocoa Powder
- 2–3 tablespoons Water
- Parchment Paper
- Basting Brush
Instructions
- Melt the Chocolate:
- Using a double boiler or microwave, melt the baby blue chocolate until smooth and creamy. If using a microwave, heat in 30-second intervals, stirring in between to avoid burning.
- Prepare the Baking Sheet:
- Line a baking sheet with parchment paper. Pour the melted chocolate onto the sheet and spread it evenly using a spatula.
- Add Toppings:
- While the chocolate is still soft, sprinkle the robin egg candies and Easter sprinkles evenly over the surface. Gently press them into the chocolate to ensure they stick.
- Freeze:
- Place the baking sheet in the freezer for about 10 minutes, or until the chocolate is completely set.
- Create the Cocoa “Paint”:
- In a small bowl, mix 2 tablespoons of cocoa powder with water, adding one tablespoon at a time, until it reaches a paint-like consistency.
- Add the Finishing Touch:
- Using a basting brush, flick the cocoa mixture over the frozen chocolate to create a speckled, “robin egg” effect. Let it dry for a few minutes.
- Break and Serve:
- Once fully set, break the bark into irregular pieces. Serve immediately or store in an airtight container in the fridge until ready to enjoy.
Notes
- Use high-quality melting chocolate for a smooth and creamy texture.
- Customize your bark with different sprinkles or candies to match your Easter theme.
- For a marbled effect, mix white and blue melting chocolates before spreading.
- Store the bark in an airtight container in the fridge to keep it fresh.
Nutrition
- Calories: 250 kcal per serving
- Sugar: 25g
- Fat: 15g
- Carbohydrates: 30g
- Protein: 2g
Conclusion
This Robin Egg Easter Bark is the perfect addition to your Easter celebrations. It’s easy to make, visually stunning, and absolutely delicious. Whether you’re making it for a family gathering, an Easter egg hunt, or just as a special treat for yourself, this bark is sure to be a hit.
So, what are you waiting for? Gather your ingredients and get started on this no-bake Robin Egg Easter Bark today. Don’t forget to share your creations with us on social media using the hashtag #RobinEggEasterBark. Happy Easter!